Turn Raw Interview Notes Into a Jobs-to-Be-Done Journey Map in 45 Minutes
Jamie
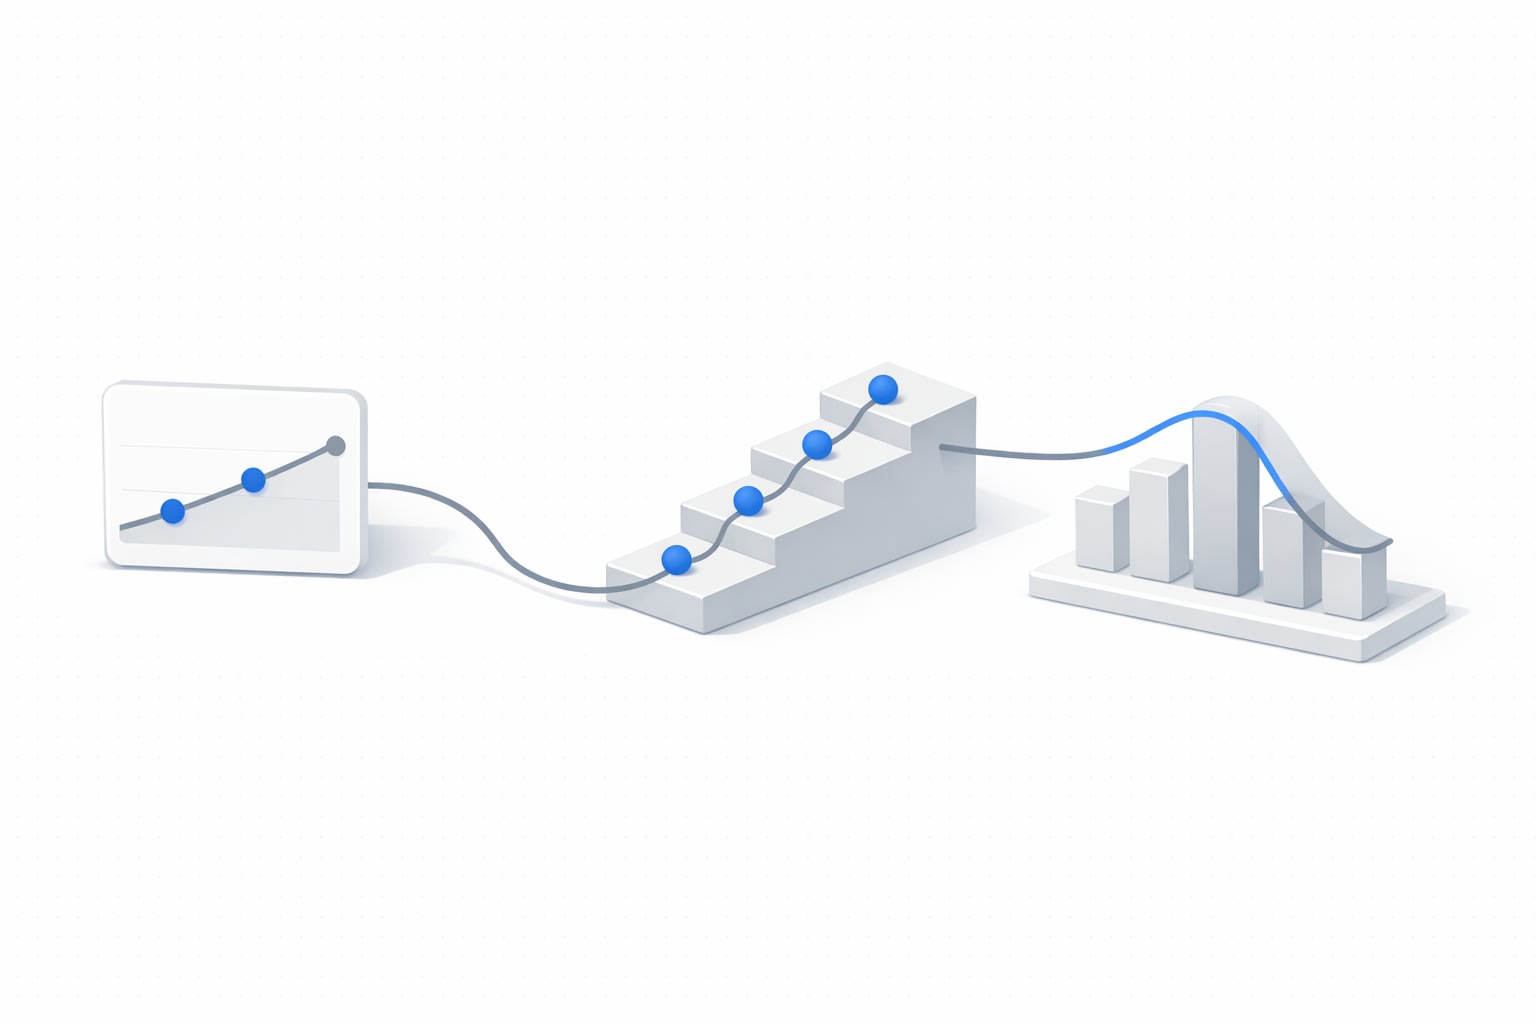
What you can produce in 45 minutes
This workflow turns messy interview notes into a Jobs-to-Be-Done (JTBD) journey map your team can review, edit, and share the same day. The output is a single visual that shows:
- The job the customer is “hiring” a product to do
- Their triggers, desired outcomes, and constraints
- The journey stages from first signal to renewal or churn
- Where friction, workarounds, and value moments actually happen

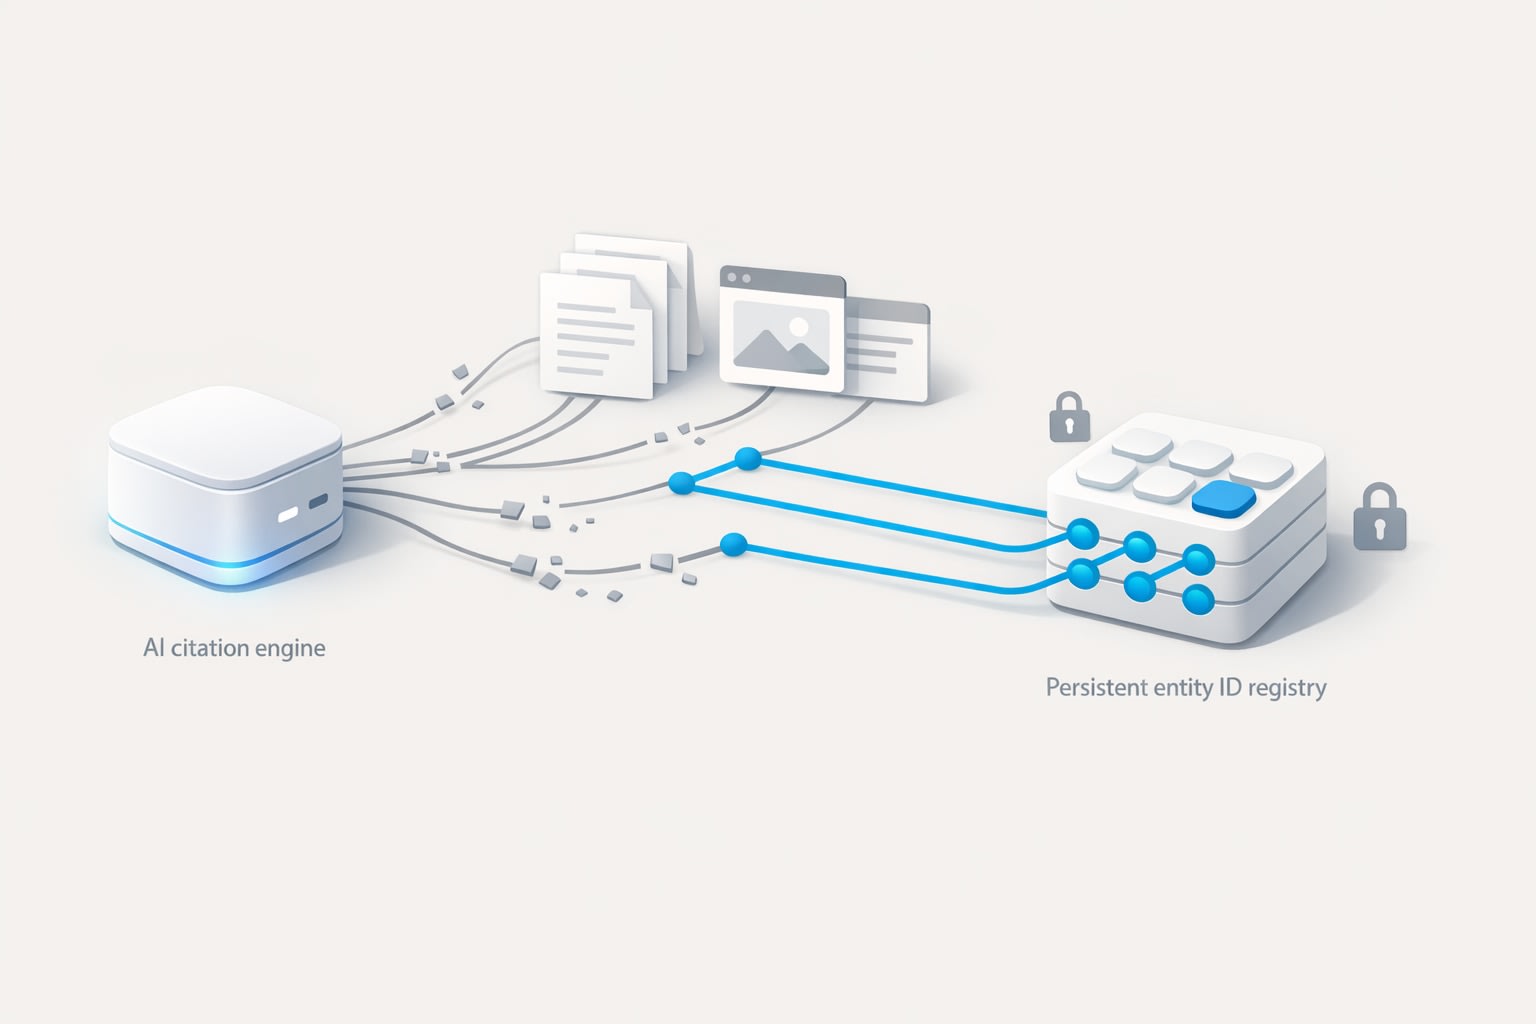
The key is staying faithful to what people said, while still compressing it into a structure teams can act on. A text-to-visual tool like Napkin.ai can help once your notes are shaped into clear, stage-based statements, because it acts as a text-to-visual translator that quickly generates editable diagrams.
Before you start, set the JTBD frame
Pick a job statement you can defend
Don’t begin with personas or feature wishlists. Begin with a job statement that you can tie back to interview language. A practical template is:
- When [situation / trigger],
- I want to [progress they’re trying to make],
- So I can [desired outcome].
If your interviews cover multiple jobs, choose the one with the clearest consequences (time, money, risk, reputation) and map that first. You can always build a second map later.
Choose a journey structure that matches how decisions happen
A JTBD journey map is not a UX screen flow. It’s a progress narrative. A simple structure that works across B2B and B2C is:
- Trigger: what makes the current approach feel insufficient
- First attempts: how they try to solve it with what they have
- Search & evaluation: how they compare options and de-risk a choice
- Decision: what tips them into a commitment
- Onboarding & adoption: how it becomes part of the workflow
- Value & renewal: how they measure progress and decide to continue
This stage model keeps you anchored to momentum—what changed, what blocked them, and what “better” looked like.
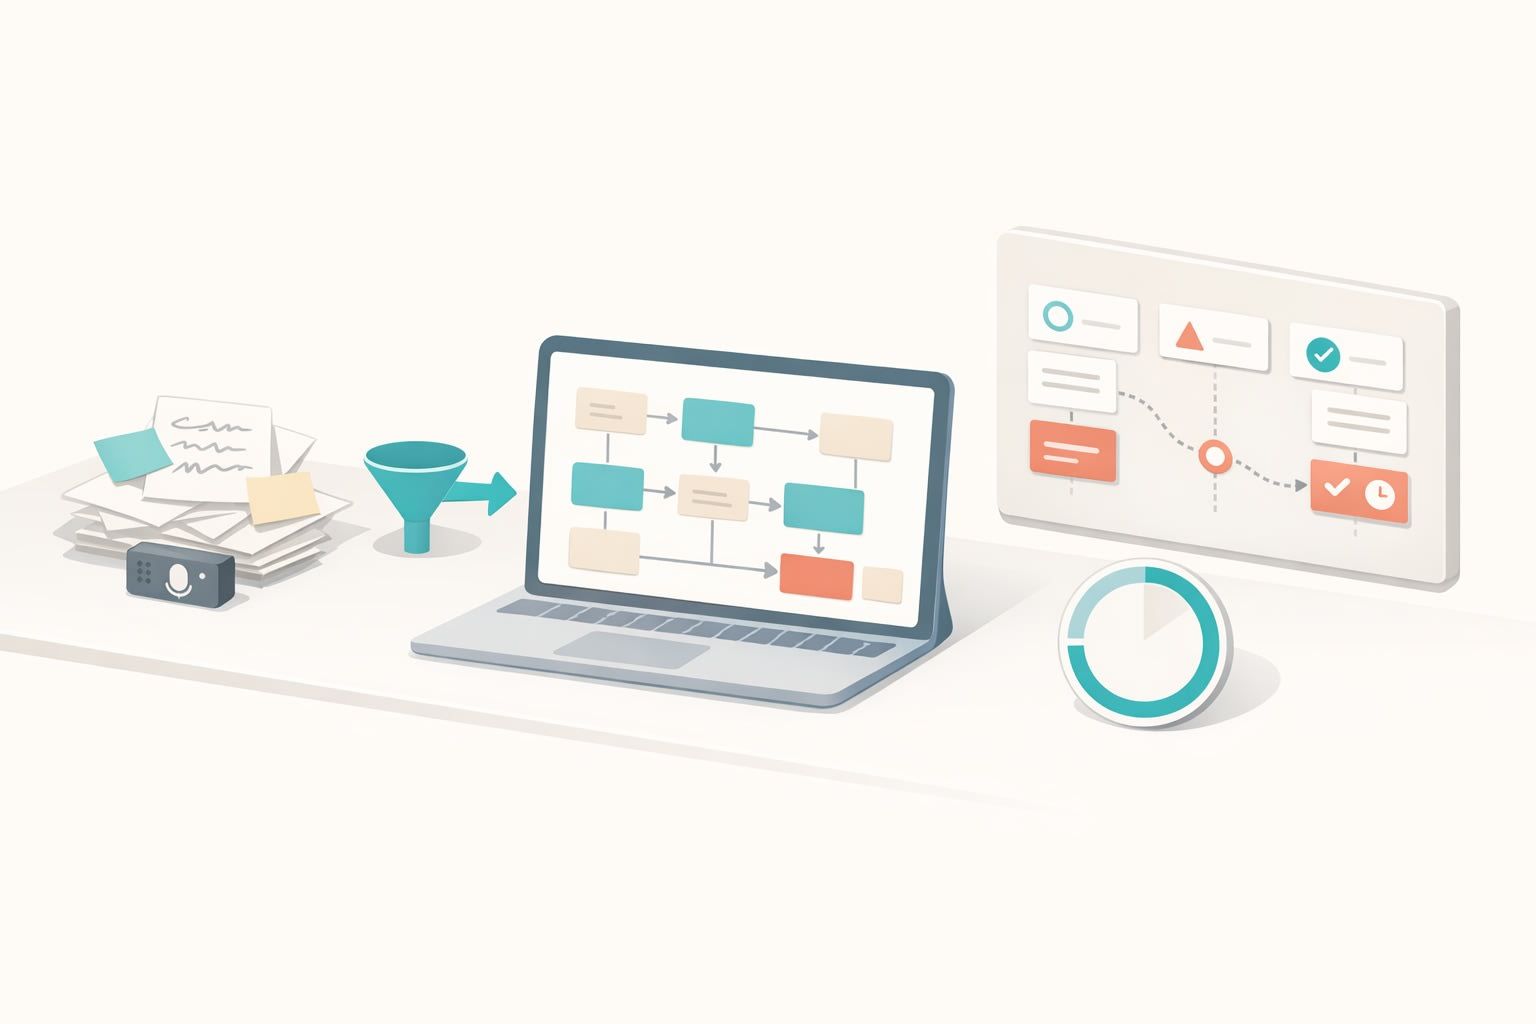
The 45-minute text-to-visual workflow
0–10 minutes: Clean the notes without rewriting history
Start with raw notes, transcripts, or highlights. Your goal is not to summarize beautifully; it’s to isolate evidence. Do three fast passes:
- Extract verbatims: copy the most concrete lines about pain, workarounds, switching, and success criteria.
- Tag signals: label each excerpt as Trigger, Constraint, Outcome, Anxiety/Risk, Workaround, or Proof.
- Remove interpretation: if a line contains your opinion (“they’re frustrated because…”), keep only what the customer actually said or clearly implied.
At this point you should have 25–60 short bullets, each one attributable to an interview moment.
10–20 minutes: Convert bullets into stage-based JTBD statements
Now reshape the bullets into statements that fit the journey stages. A helpful rule: one bullet should express one idea, and it should be stage-bound. Examples of stage-bound phrasing:
- Trigger: “A new reporting request exposes gaps in the current process.”
- First attempts: “They try a spreadsheet workaround to avoid buying software.”
- Evaluation: “They look for proof that the tool works with their existing stack.”
- Decision: “They commit when a stakeholder agrees the risk is acceptable.”
- Adoption: “They struggle until they can standardize a repeatable template.”
- Value: “They renew when time-to-output drops measurably.”
Keep your language neutral and observable. If you need to make an inference, label it as an assumption so the team can challenge it.
20–30 minutes: Draft the journey map as plain text first
Before you draw anything, write the map in a simple outline. This keeps your thinking structured and makes it easy to generate a clean visual. Use this format:
- Stage: 3–6 bullets of what happens
- Customer goal: what progress they want in that stage
- Friction: what slows or stops progress
- Decision criteria: what convinces them they’re safe to proceed
- Signals/metrics: what they use to judge success
30–40 minutes: Generate the visual and make it readable
Once your outline is coherent, paste it into a text-to-visual tool. With Napkin, you can take a structured text outline and generate a diagram you can then edit: rename stages, adjust grouping, and emphasize the most important constraints and outcomes.
To keep the map readable for stakeholders:
- Limit each stage: 4–7 bullets is usually enough for a first pass.
- Separate facts from hypotheses: style assumptions differently (e.g., “Assumption:” prefix).
- Highlight two layers: top layer = journey stages; second layer = friction and decision criteria.
- Use consistent nouns: call the same entity the same name across the map (stakeholder, buyer, approver, admin).
This is where text-to-visual shines: you’re not “designing,” you’re making the structure legible. The better your outline, the better the first visual draft.
40–45 minutes: Run a fast integrity check with your team
Use five minutes to validate the map against the notes and against reality. Ask:
- Traceability: can we point to interviews that support the major claims?
- Stage order: is the sequence accurate, or do stages loop?
- Missing risks: what anxieties would stop adoption even if the product is good?
- Outcome clarity: what does “better” mean in measurable terms?
How to use the JTBD journey map after it’s created
Turn stages into opportunity statements
For each stage, write one opportunity statement that ties directly to friction or risk. Example: “Help teams prove integration viability in under one day.” Then map opportunities to product bets, experiments, or messaging tests.
Align research, product, and go-to-market on the same evidence
A good JTBD map becomes a reference artifact across disciplines. Product uses it to sequence onboarding and activation; marketing uses it to address evaluation anxieties; sales uses it to anticipate objections and define proof points.
Keep it living, not ceremonial
Update the map as soon as you learn something that changes the stage order, a key constraint, or a success metric. Versioning matters more than polish. A simple note like “Updated after 5 interviews (Mar 2026)” keeps it credible over time.
Common pitfalls that break JTBD journey maps
- Replacing customer language with internal jargon: it makes the map feel “true” internally but less predictive externally.
- Over-indexing on one interview: single anecdotes belong as callouts, not as the spine of the journey.
- Confusing steps with stages: stages are progress moments; steps are UI actions.
- Skipping risk and anxiety: in many purchases, perceived risk shapes the journey more than features do.
If you avoid these and keep your artifacts traceable to notes, a 45-minute workflow can reliably produce a first journey map draft that’s good enough to drive decisions—and easy to iterate as new interviews come in.