Pairing Readiness Checklist for Screen Share, Mic Gain, and Remote Control
Jamie
The pairing readiness checklist before a high-stakes session
If you’ve ever started a pairing session and immediately burned ten minutes on “can you hear me?” or “your screen is blurry,” you already know the cost: momentum evaporates, context-switching spikes, and the meeting becomes troubleshooting instead of building.
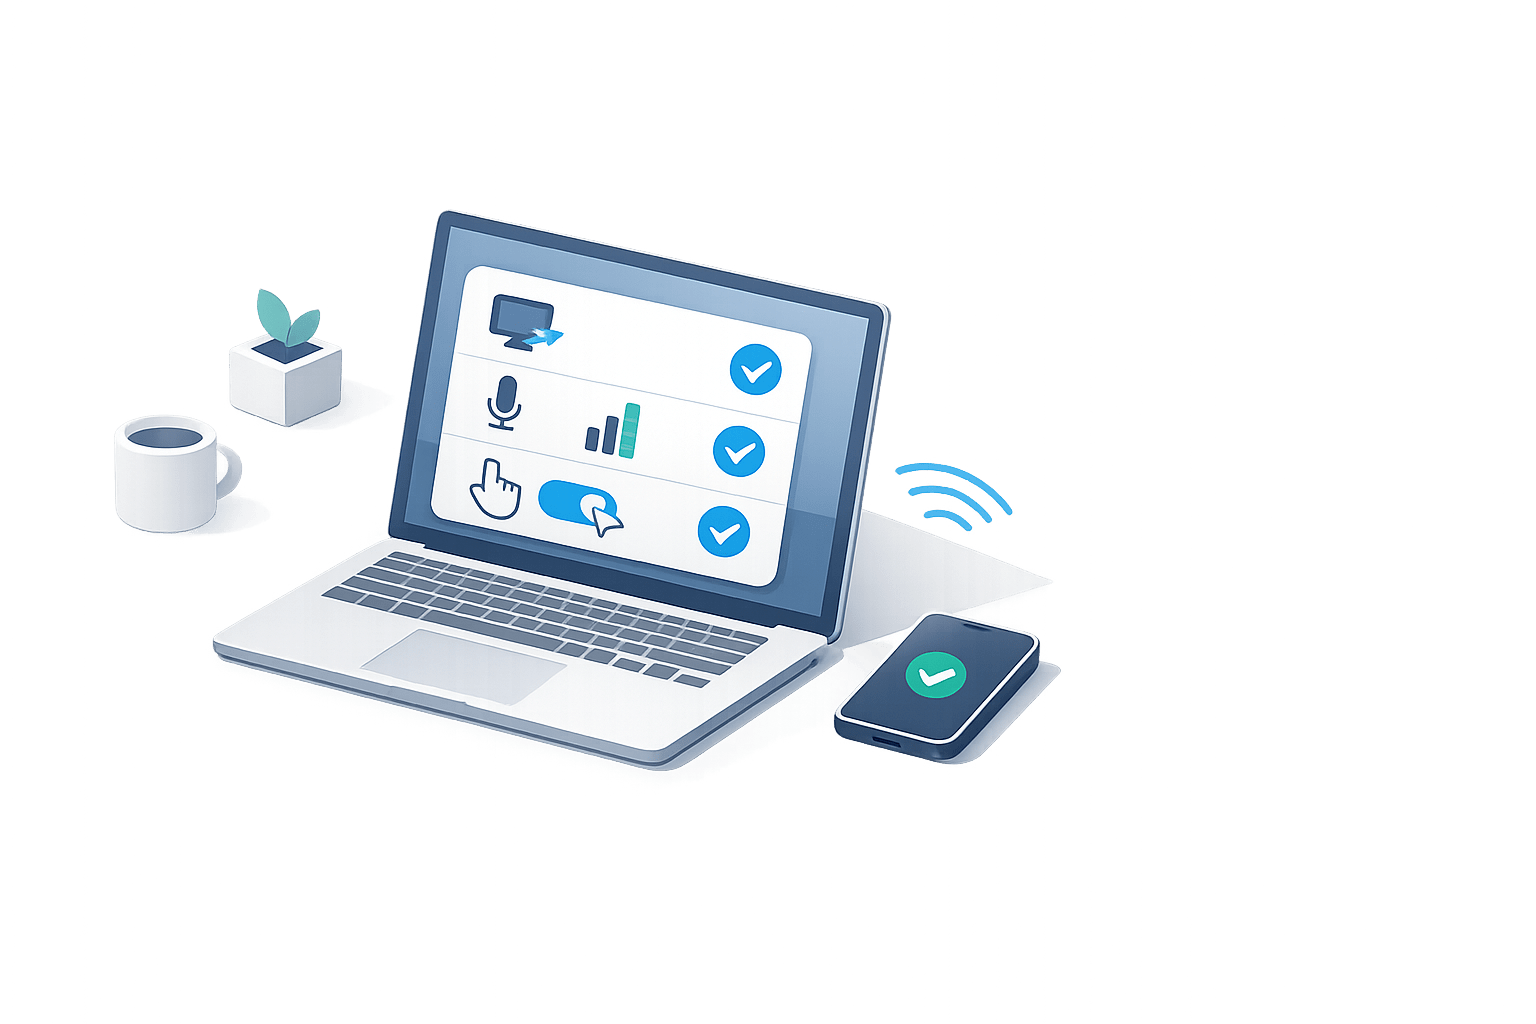
This “Pairing Readiness Checklist” is a set of quick preflight tests you can run in under five minutes to validate three failure-prone areas before an interview, incident response, client debugging call, or critical design review: 5K screen share clarity, mic gain and audio intelligibility, and remote control latency and shortcuts. It’s tool-agnostic, but it maps naturally onto purpose-built pairing apps like tuple.app, which prioritize sharp screen sharing, crisp audio, and snappy remote control.
Preflight principles that keep the checklist fast
Run the checks in the same order every time
Consistency matters more than thoroughness. When you always test video → audio → control, you build muscle memory and reduce the chance you’ll forget the one setting that always bites you (usually permissions or input selection).
Validate the “actual path,” not the local preview
Local OS meters and camera previews are helpful, but they don’t confirm what your partner receives. Whenever possible, test by placing a quick call to a teammate (or a second device) and having them confirm what they see/hear/control.
Decide your fallback before you need it
A fallback plan isn’t pessimism; it’s professionalism. If screen sharing degrades, do you drop resolution, change displays, switch networks, or swap roles? If audio fails, do you switch to a headset, a different input, or a phone dial-in? Put the decision on rails.
Test 1: 5K screen share readiness in 90 seconds
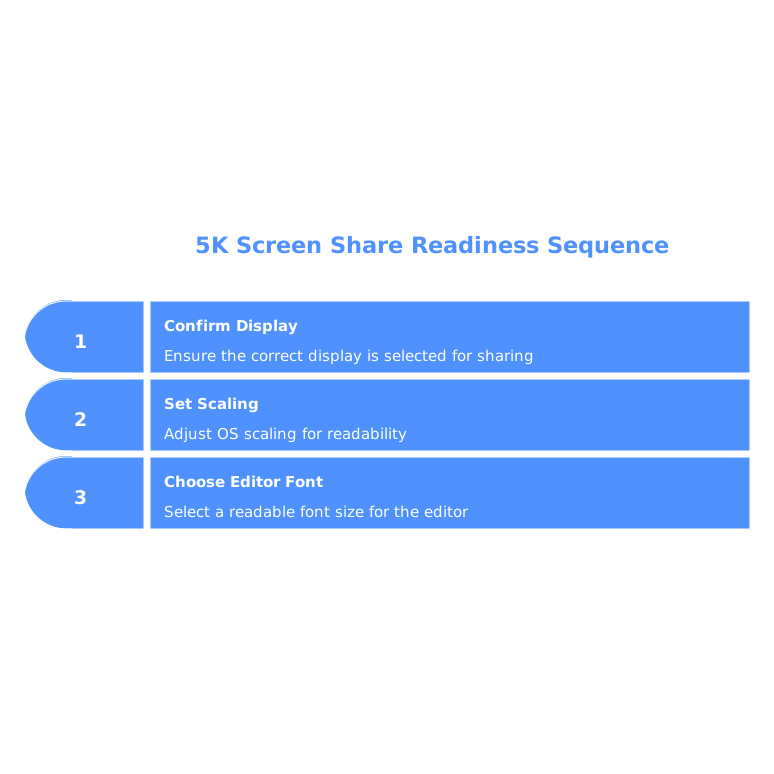
1) Confirm the right display and scaling
High-resolution sharing is only useful if the other person can read text. Before the call:
- Choose the display you will share (prefer a single “work” monitor over a laptop display plus external monitor swapping mid-call).
- Set a readable editor font size and OS scaling. A common failure mode is a beautiful local setup that becomes micro-text when encoded and viewed on a different screen size.
2) Check motion and sharpness on the content you’ll actually use
Don’t test by dragging a Finder/Explorer window around. Test the real workload:
- Scroll a large file in your editor.
- Pan around a UI, a dashboard, or logs with dense text.
- Open a terminal and run a command with fast output.
Ask your partner one question: “Can you read this without leaning in?” If the answer is anything but “yes,” adjust scaling/font size first—before you touch bandwidth settings.
3) Reduce visual noise before you share
Notification banners, personal messages, and password managers derail focus and can create security risk. Use a short “privacy sweep”:
- Enable Focus/Do Not Disturb.
- Close unrelated apps and tabs.
- Hide sensitive windows you might accidentally expose.
Tuple’s “veil” approach to hiding selected apps/notifications is designed specifically for this moment, but the underlying point applies everywhere: curate what can appear on-screen.
4) Quick network sanity check
You don’t need a full diagnostic—just a reality check. If you’re on Wi‑Fi, confirm you’re on the intended network and you’re not unknowingly tethered to a weak hotspot. If you’re about to do incident work or an interview, plug in Ethernet if it’s available.
Test 2: Mic gain and intelligibility without sounding “processed”
1) Select the correct input and lock it in
Most “mic issues” are device selection issues. Before the call starts:
- Explicitly choose your microphone in the app and in the OS.
- Disable automatic input switching if your system tends to jump to a webcam mic.
2) Set gain for voice, not for silence
A clean signal is easier to understand than a loud one. Aim for a level where normal speech is clear and peaks don’t distort. A simple test script helps you reproduce real speaking dynamics:
- Say one sentence quietly, one at normal volume, one with emphasis.
- Listen for pumping, clipping, or “underwater” artifacts (often caused by aggressive noise suppression).
If you use noise reduction, prefer the lightest setting that removes constant background hum. Over-processing can make consonants harder to parse—exactly what you don’t want in a high-stakes pairing session.
3) Check echo risk and room acoustics
Echo almost always comes from speakers. Use closed-back headphones or a headset if possible. If you must use speakers, lower volume and increase distance from the mic. In a reflective room, even a small change—closing the door, moving away from a wall, placing a soft item nearby—can improve clarity.
4) Confirm the “handoff phrase”
Agree on one phrase that means “audio is breaking up, pause and repeat.” It sounds small, but it prevents the subtle failure mode where both people keep talking while missing half of what’s said.
Test 3: Remote control that feels instant, not awkward
1) Verify permissions before the call
Remote control failures are frequently permission-related (especially after OS updates). Confirm, ahead of time, that screen recording and accessibility/remote-control permissions are enabled for your pairing tool. Do this on both sides if you expect to swap roles.
2) Latency test with a “tiny task”
Instead of wiggling the mouse, run a concrete micro-task that reveals friction:
- Open the command palette.
- Rename a symbol.
- Select a block of text and refactor it.
If it feels sticky, decide whether to keep remote control for “pointing and minor edits” versus “driver-level coding.” The goal is to maintain flow, not to force a mode that’s fighting your connection.
3) Validate keyboard shortcuts and role swapping
High-stakes sessions often involve quick changes in who’s driving. Confirm:
- Your shortcut for swapping who shares/controls.
- Your mute/unmute shortcut (and a visible indicator so you don’t talk while muted).
- Any custom shortcuts you rely on (push-to-talk, annotation toggle, etc.).
If you use automation, keep it predictable. For example, Tuple’s Triggers API can pause music on call start or add a Git co-author on call end—useful, but only if you’ve tested it so it doesn’t surprise you during a critical moment.
Operationalize the checklist so it actually happens
Create a 5-minute calendar buffer
Schedule pairing sessions with a small buffer specifically for readiness checks. If your organization struggles with hidden work that never gets tracked, this is the same idea as preventing a “silent queue” of recurring issues: you allocate time so the same problems don’t steal it later.
Turn the checklist into a reusable template
Put a short version into your meeting notes or your team’s runbook. If you already have a system for turning notes into next actions, embed the three tests as a standard pre-meeting step so it’s not dependent on memory.
When things still fail, capture a small diagnostic trace
Even with preflight checks, failures happen. When they do, write down: OS version, headset model, network type, and what exactly degraded (sharpness, audio artifacts, input lag). This prevents “feedback debt” where the same ambiguous bug report gets repeated across Slack, support, and forums without becoming actionable.
For teams that pair frequently, a purpose-built tool can reduce the surface area for these problems. The point of a readiness checklist isn’t to be paranoid—it’s to protect your limited high-focus time so the session starts in flow and stays there.
Related reading: A Remote Pair Programming Shortcut Stack for Zero Context Switching and The Silent Queue Problem and How to Keep Customer Bugs From Derailing Your Roadmap.